

Mulch is an essential component in many gardens and landscapes, providing a protective layer for plants, conserving moisture, and enhancing the aesthetic appeal of outdoor spaces. While natural mulch comes in various colors, such as brown, red, and gold, you might be interested in adding a touch of drama to your garden by dyeing your mulch black. We will explore the step-by-step process of dyeing mulch black to transform the look of your garden or landscape.
Step 1: Choose the Right Mulch
The first step in dyeing your mulch black is to select the right type of mulch. Mulch can be made from a variety of materials, including wood chips, bark, and shredded leaves. It's important to choose mulch that is compatible with dyeing. Most types of mulch made from organic materials, such as wood chips or bark, can be effectively dyed. However, it's recommended to avoid using mulch made from rubber or plastic, as these materials may not absorb the mulch colorant properly.

Step 2: Gather Materials
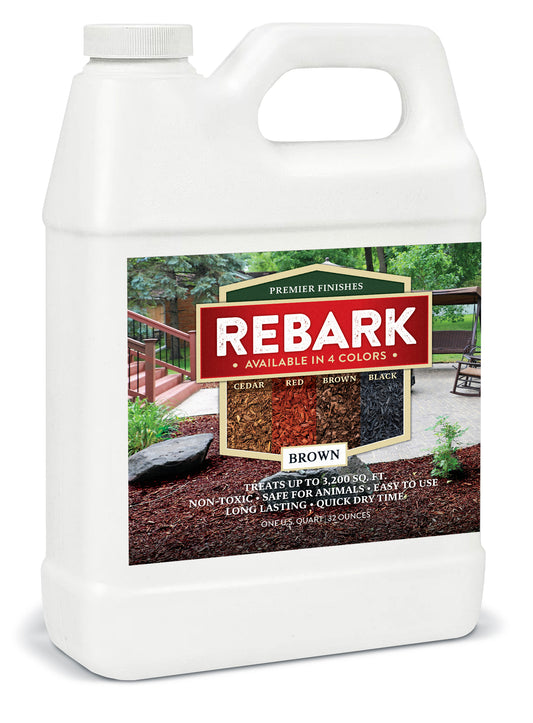
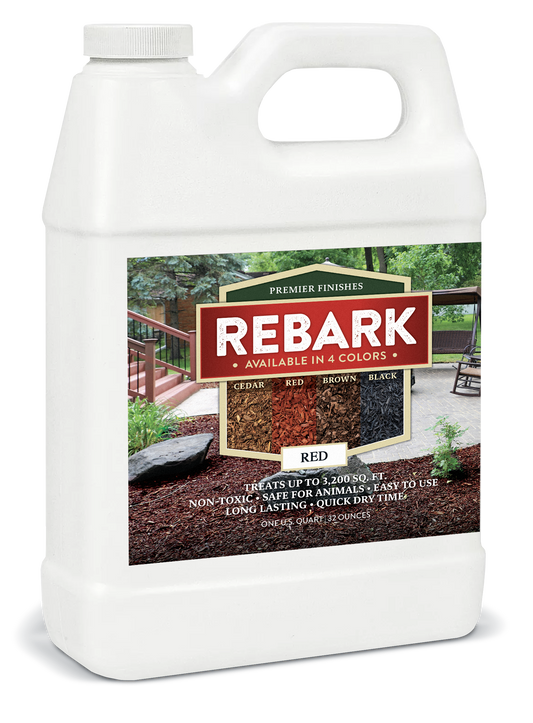
Before you begin the dyeing process, gather all the necessary materials. You will need black mulch dye, a garden sprayer, and a plastic sheet or cardboard to protect the surrounding area.
Step 3: Prepare the Mulch
Prepare the mulch by spreading it out in a thin layer on a tarp, plastic sheet, or cardboard. This will make it easier to evenly distribute the dye and ensure thorough coverage. If the mulch is clumped together, use a rake or a fork to break it up and create a uniform layer.

Step 4: Apply the Dye
Using a sprayer, apply the black mulch stain or paint evenly over the mulch. Start from one end of the mulch and work your way to the other end, making sure to cover the entire surface. Adjust the nozzle to create a fine mist for even distribution. Be careful not to oversaturate the mulch, as this may result in an uneven color or damage to the plants.

Step 5: Allow the Dye to Dry
After applying the colorant, allow the mulch to dry completely. This may take a few hours or longer, depending on the weather conditions. Avoid watering or disturbing the mulch while it is drying to ensure that the stain sets properly.
Step 6: Inspect and Touch Up
Once the mulch is dry, inspect it for any areas that may have missed the dye or appear uneven. If needed, use a paintbrush or a sprayer to touch up these areas for a consistent black color.
Step 7: Clean Up
After completing the dyeing process, clean your sprayer or paint roller according to the manufacturer's instructions. Dispose of any leftover dye or packaging in accordance with local regulations.
And there you have it - a simple and effective way to dye your mulch black and add a bold and dramatic look to your garden or landscape. With just a few steps, you can transform the appearance of your outdoor space and create a stunning visual impact. Happy gardening!


1 comment
Where can I buy this dye from