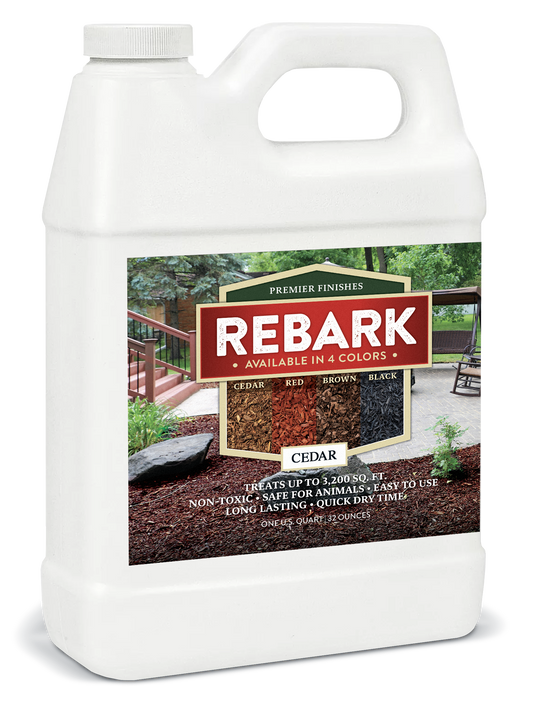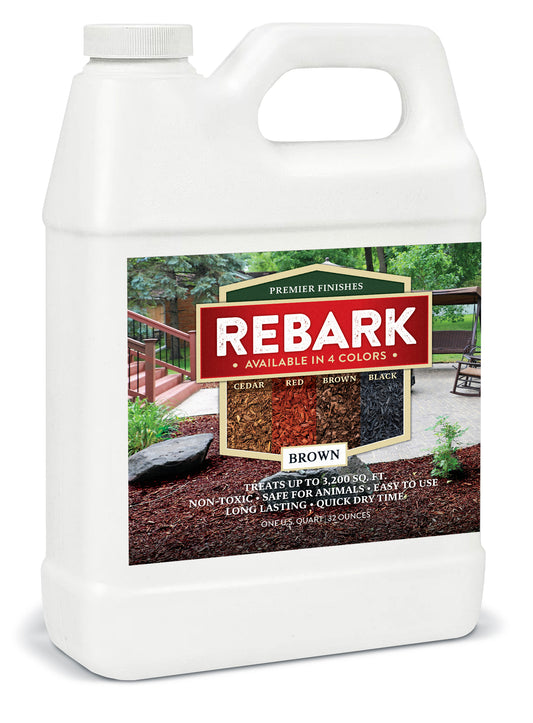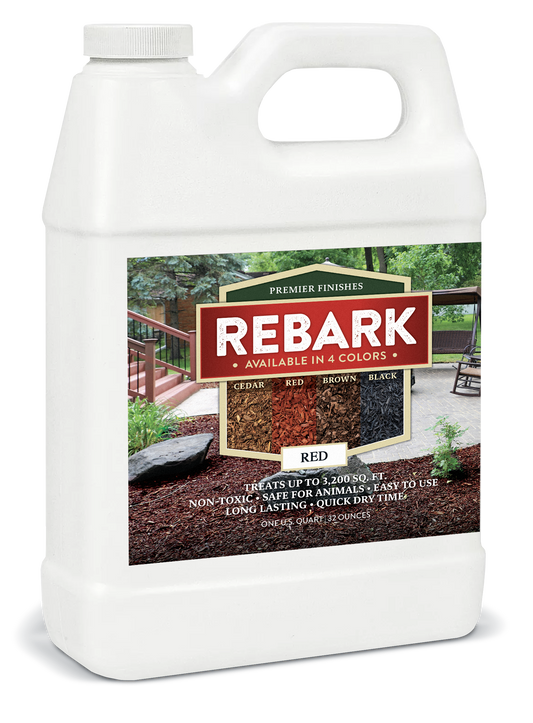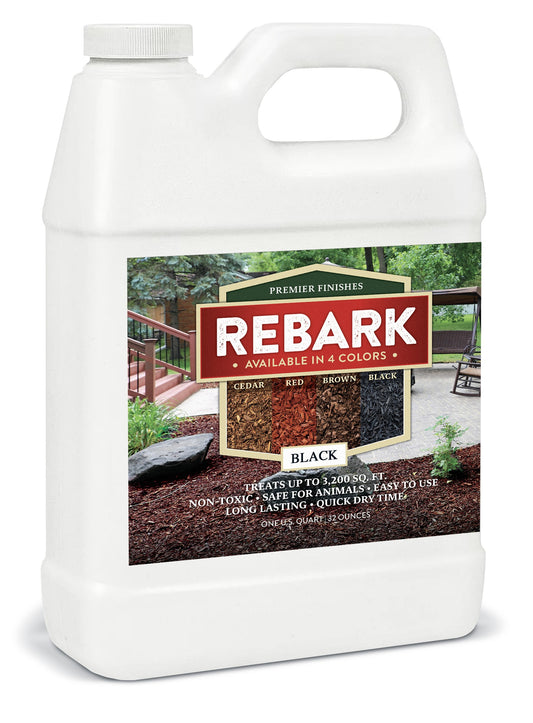
A well-maintained deck not only enhances the aesthetic appeal of your outdoor space but also extends its lifespan. One of the key steps in deck maintenance is staining. Wood Stain not only provides a beautiful finish but also protects the wood from the elements. In this guide, we'll walk you through the steps to stain your deck effectively, ensuring a long-lasting and vibrant result.
Materials You'll Need
Before you begin, gather the necessary materials:
-
Stain: Choose between transparent, semi-transparent, or solid stains based on the desired look and level of protection.
-
Deck Cleaner: A quality deck cleaner will remove dirt, mold, and mildew, preparing the surface for staining.
-
Deck Brightener: This optional step helps open up the wood's pores and enhances stain absorption.
-
Sanding Equipment: Sandpaper or a power sander to smooth rough areas and remove old stain or paint.
-
Brushes, Rollers, and Applicators: Quality brushes and rollers ensure an even application of the stain.
-
Tarp or Drop Cloth: Protect nearby plants, furniture, and surfaces from stain splatters.
-
Safety Gear: Wear gloves, safety goggles, and a mask to protect yourself from chemicals and fumes.
-
Painter's Tape: Use tape to protect areas you don't want stained, such as siding.
Step-by-Step Guide
1. Prep Your Deck
Start by clearing the deck of any furniture, planters, and debris. Sweep thoroughly to remove dirt and leaves. If your deck has any mildew or mold growth, use a deck cleaner according to the manufacturer's instructions to clean the surface. For tougher stains, you might need to scrub with a stiff brush.
2. Repair and Sand
Inspect your deck for any loose boards, protruding nails, or splinters. Replace or repair damaged areas as needed. Sand the entire deck to smooth any rough spots and remove old stain or paint remnants. This step ensures an even finish and better stain absorption.
3. Clean and Brighten
If you're working with a hardwood deck or if your wood has grayed over time, consider using a deck brightener after cleaning. This step revitalizes the wood's natural color and prepares it for staining. Follow the product's instructions for application.
4. Tape and Protect
Use painter's tape to cover areas adjacent to the deck that you want to protect, such as siding or the house's exterior. Lay down a tarp or drop cloth to catch any drips and protect plants or furniture beneath the deck.
5. Apply the Stain
Before you start staining, check the weather forecast. Choose a day with clear skies and moderate temperatures to allow the stain to dry properly. Stir the stain thoroughly before use. Using a brush, roller, or sprayer, apply the stain evenly, following the wood's grain. Work in small sections, and avoid overlapping strokes to prevent uneven coloring. For best results, apply two thin coats rather than one heavy coat.
6. Wipe Off Excess
After applying the stain, wait for about 15-30 minutes (or as indicated on the product label). Using a clean cloth or rag, wipe off any excess stain that hasn't been absorbed by the wood. This prevents the formation of sticky or tacky areas.
7. Allow Drying Time
Let the first coat of stain dry for at least 24 hours before applying the second coat. Be sure to read the manufacturer's instructions for specific drying times.
8. Cleanup and Maintenance
Clean your brushes, rollers, and other tools with the appropriate solvents according to the stain's instructions. Once your deck is fully dry, you can replace furniture and enjoy your newly stained outdoor space. Regularly sweep the deck and clean up any spills to maintain its appearance and prolong the life of the stain.
Staining your deck with Premier Finishes Wood Stain products is a rewarding project that adds beauty and protection to your outdoor space. Following these steps ensures that your deck stain application is smooth, even, and long-lasting. By investing time and effort into this project, you're taking proactive steps to maintain your deck's integrity and enhance the overall charm of your outdoor living area.


